
 “A place for everything and everything in its place” was the advice I was given as a child when I misplaced something, which I have to admit was often enough.
But whenever I had a chance to put things in order and to give things a designated spot (and I made sure to return the objects to their designated spot after use), it seemed that losing, misplacing and hunting for things became a rare occurrence. Mom and Dad’s advice was proven right, again and again.
I was working in the kitchen a few days ago when I realized that my kitchen was not following that mantra. I had teas scattered in three different cupboards. I had bags of bulk store products piled on top of one another and sliding off each other. Even my cat’s cupboard was becoming an avalanche-waiting-to-happen.
My spring cleaning instinct went into overdrive. It was time to tame these cupboards and get the kitchen organized once and for all!
It’s not like I’ve never done this before. A few years ago, I containerized the different kinds of gluten-free flour I needed, just to keep them clearly identified and organized. Gluten-free recipes were a breeze when I could tell my tapioca starch from the potato starch, and the white rice flour from the sweet rice flour. Every time I baked or brought back more flour from the store, I was so thankful that I had this section so neatly organized.
It was time to apply the same makeover technique to the rest of the kitchen.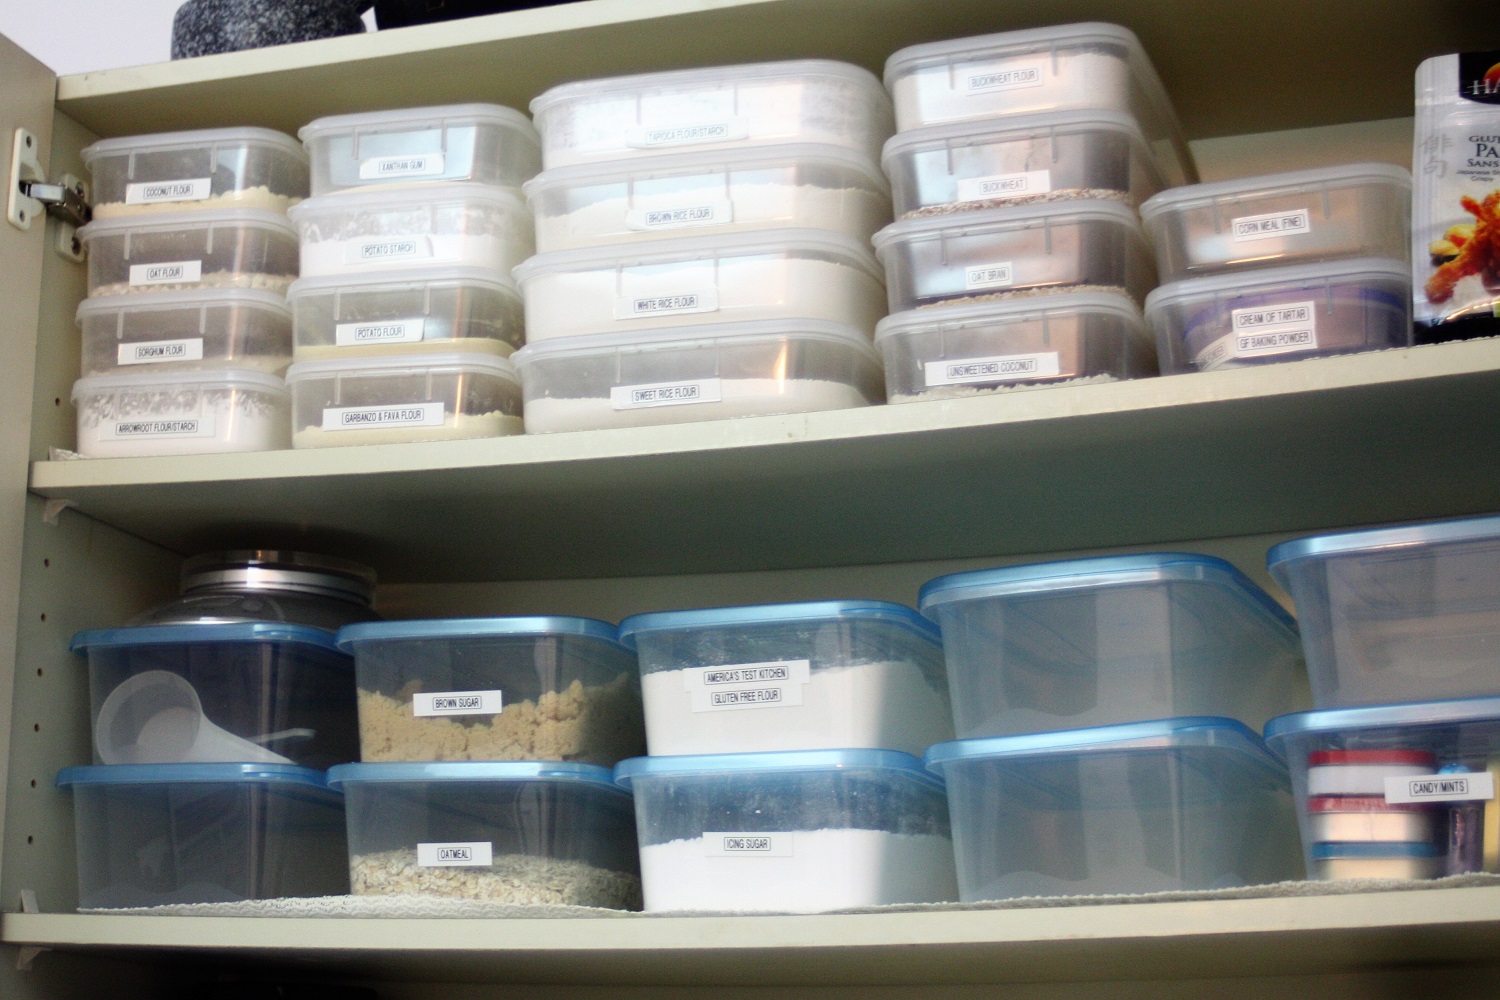
When it comes to kitchen items, I see two main problems: shapeless objects and small objects.
The shapeless objects are those bagged items like chocolate chips or bulk store items that don’t stack well, creating a moving blob in the cabinet, consuming horizontal space and little vertical space. Small objects like the little bottles of flavour extracts (almond, orange and vanilla) stay in place nicely, but if I accidentally knock one over while reaching for something behind them, I knock them all over.
Another side issue is depth. If we can make use of the full depth of the cabinets, storage potential is multiplied. The problem is how to stay on top of what’s at the very back of the shelf.
To me, the answer is containers.
The first step was a quick edit of the contents of my cabinets and pantry. I tossed out anything that was in the process of going stale, that I honestly knew I wasn’t going to use, or that had expired. One garbage bag later, and with free space opening up, I was well on my way.
The next step was to measure those cabinets carefully (from the inside!) and to get a sense of how much free space I had to work with. I then went to a discount store to check out how their containers measured up and compared to my free space.
To maximize my use of space, I avoided looking at containers that were cylindrical. Those barrel-shaped containers lose too much space in the square angles of rectangular cupboards.
I then bought three different “prototype” containers (that seemed to fit within the boundaries of my cabinet measurements) to see how they might fit and stack up in my pantry and cupboard shelves. With those prototypes, I was able to see what fit the best and to imagine how many containers could fit in a row to best fill in the space.
I then returned to the store and started buying containers 3 or 4 at a time, just enough to fill up a row. I didn’t buy more than that as I wanted to reserve the right to change my mind and relocate them to another shelf later if needed.
Then I washed and thoroughly dried the containers and filled them with items that seemed to be within the same “category”. And then out came the label maker for the last finishing touch, to let me know what was in the container.
With one row finished, I’d take a step back, mentally high-five myself for what I had accomplished, and then start thinking about the next row to tackle a day or two later.
The time between rows allowed me to consider what other objects could logically be combined into a container, which size container was needed, and where to place it (is it something I use daily, weekly or just a few times per year?) Before I knew it, in my mind I had my kitchen already rearranged.
The best part is that discount stores have containers of so many different shapes, sizes and materials, it is pretty easy to reorganize a kitchen on a limited budget.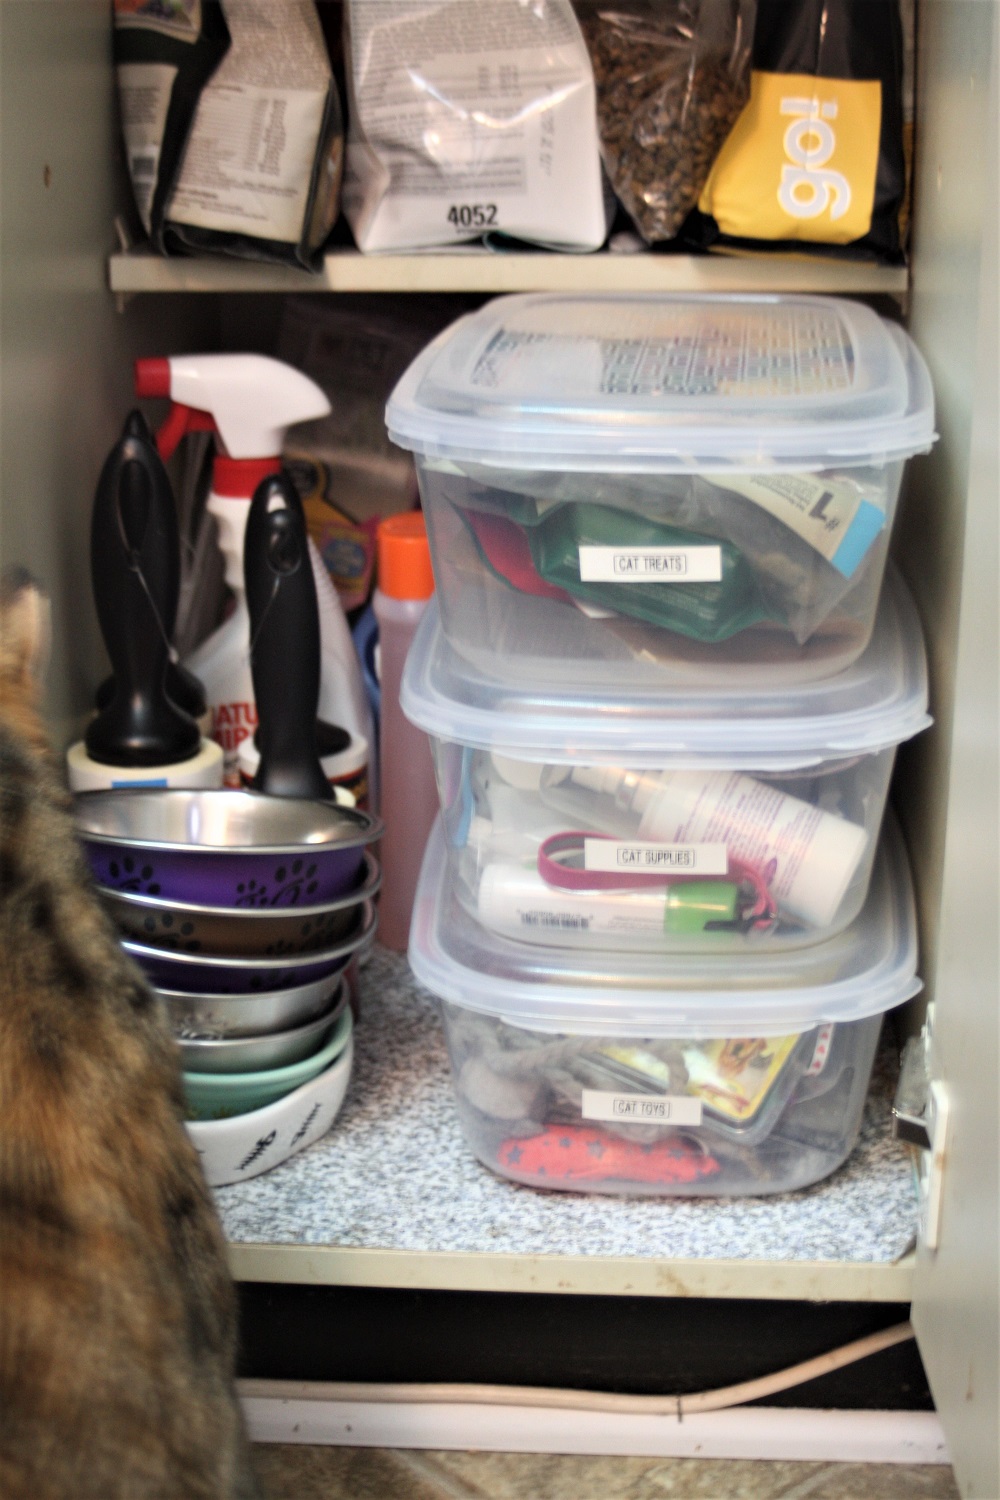
The first recipes I did after the kitchen cabinet makeover went so smoothly. I am certain I saved time and effort in not having to hunt for any of the ingredients or the tools I needed, because I had “a place for everything and everything in its place”.
Thanks again, Mom and Dad!
Did you enjoy this post? If you did, your likes and shares are most appreciated.
If you haven’t already, please check out the rest of my blog at andrebegin.blog. From there, you can click on the “Follow” button to receive future posts directly in your inbox.
Sincere thanks for reading!
Have a great day,
André


Leave a comment